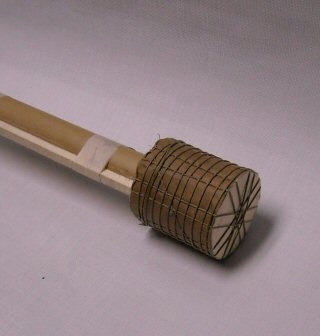
 Above is a representative shell on a completed motor |
This is a note on a single break color canister shell meant to fly on a one pound (3/4") motor. Much of this construction is like the Cap Plug Shell construction so photos will be interchanged as needed.
The following pictures and captions show one way. You may wish to do it more traditionally. This is a rocket header so it does not need to be pasted in. Pasting primarily provides fireproofing but we can make the header fireproof enough for a rocket launch without all that extra weight.
Motor Configuration
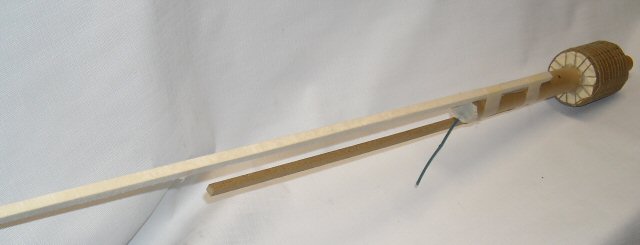
The total weight of this shell will be about 180 grams - which can be lifted with many 3/4" BP motors. The BP motor can be nozzled or nozzleless so see the rocket section on how to build one. The one used for this shell was 3/4", 4" spindle with a 3/8" base and a 1% taper. It used a clay nozzle and a clay bulkhead. The fuel was RP equivalent (see composition page). The delay was 3/4" of the same fuel with 20% Ti added. The dimensions of the spindle are similar to the LWS motors produced by Steve La Duke and his tooling set would work fine. If a 'standard' BP spindle is used, then the fuel will need to be slowed down by adding charcoal - start with about 5%. I use two sticks on each motor - one is 5/16 x 32 and the other is 1/4 x 18. For slightly heavier shells (200 grams or so), I increase the 18" stick slightly. For lighter shells, I decrease it or remove it. For instance, for the five times report shell which is less than 100 grams, I remove the 18" stick entirely.
While BP is probably the most complimentary to this shell, just about any 3/4" motor would lift it. Whistle, red/green mag, strobe or any of the variants could be used.
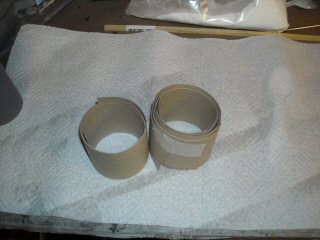
We'll make a lightweight shell case first.
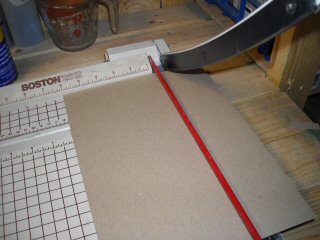
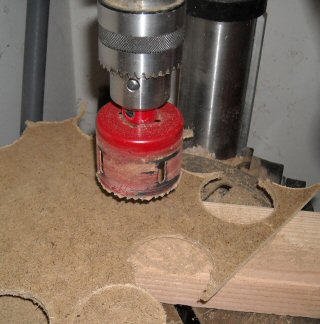 Start by cutting out some end plugs (2 for each shell) If you use the former shown below, you can use a 2.5" hole cutter to make some 2 3/8" plugs out of 1/8" particle board. |
|
|
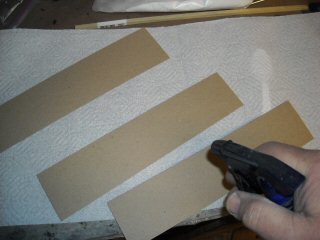
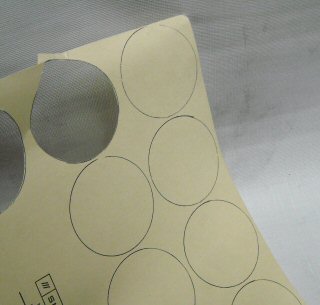 Optionally, you can make some cover pieces for the ends of the shell. These are cosmetic but are nice |
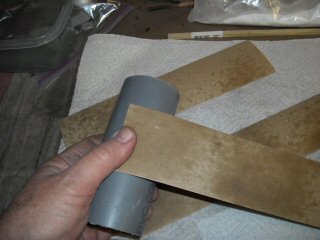
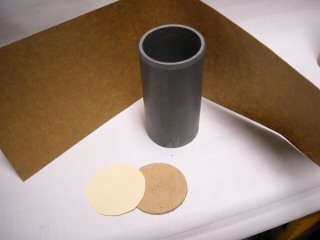 The plastic tube is a 2" conduit. It's outside diameter is 2 3/8". The hole saw (above this) cuts a plug that is just about right for this combination. The paper is 50 lb Kraft 5.5" wide and about 15" long - enough for two wraps around the former. |
|
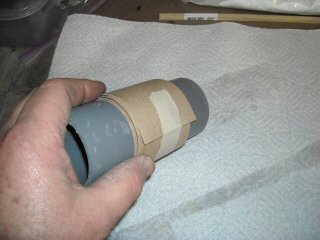
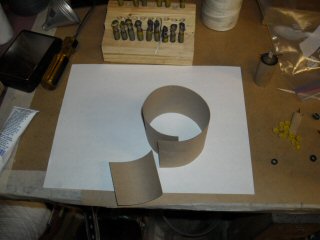
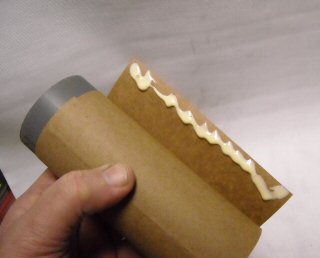 Wrap the paper around the former and either tape or glue it. I like to glue it since it makes a nicer looking shell. |
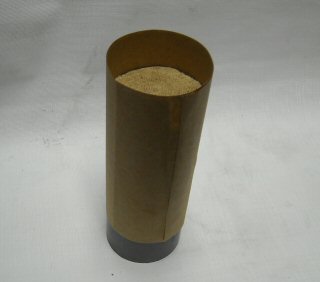 After pasting the paper, drop one of the end plugs in |
|
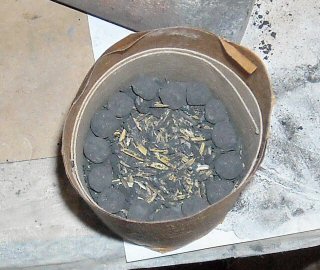
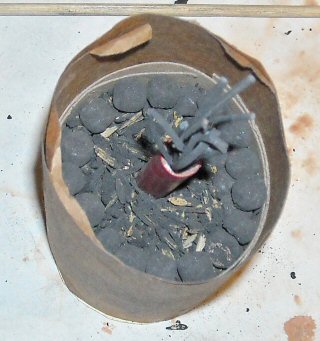
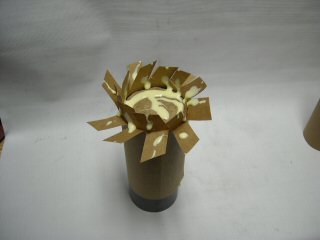 Snip the paper and form a rose. Open up the rose so you can see all the petals and add a dab of paste to each petal and to the end plug |
 Fold together |
|
 Press on a board or flat surface and you get something like the above |
 Optionally, you can add a bit more paste and put on the cover. This makes a nice looking shell case. |
|
 Put a spare plug on each end of the work and squeeze it to make sure the glue and paper are in good contact. Leave the pressure on for just a few minutes else you may end up permanently gluing the spare plug onto the end. ;-} |
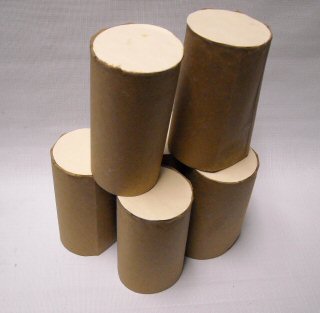 While you are at it, make up a few. |
|